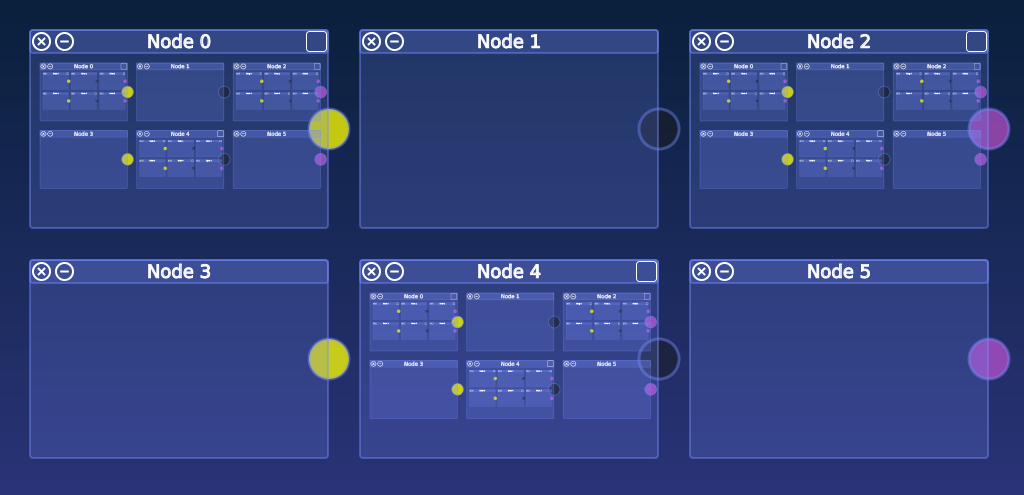
Workflow Visualization With VWorkflows & JavaFX [Part 3]
In the first and second part of this tutorial we created nodes and complex flows and visualized them.
If workflows are complicated and consist of many layers it is necessary to use multiple views for the visualization and interaction.
Overview
In this tutorial we will cover an exciting feature: you will learn how to create multiple interactive views of a workflow.
Thanks For Your Feedback
Thanks for all your nice mails! As this project is related to VRL-Studio I encourage you to post ideas and comments on the VRL-Studio mailing list.
Demo
Here’s another video:
Creating Multiple Views
As in the last tutorial we use the createFlow(VFlow workflow, int depth, int width) method to create a flow:
createFlow(flow, 3, 6);
Now we create second visualization of the root flow, i.e., an exact copy of the first visualization. We accompish this by assigning two skin factories to the flow controller:
    // create first skin factory for flow visualization
    FXSkinFactory fXSkinFactory1 = new FXSkinFactory(canvas1.getContentPane());

    // create skin factory for flow visualization
    FXSkinFactory fXSkinFactory2 = new FXSkinFactory(canvas2.getContentPane());

    // generate the ui for the flow
    flow.setSkinFactories(fXSkinFactory1, fXSkinFactory2);
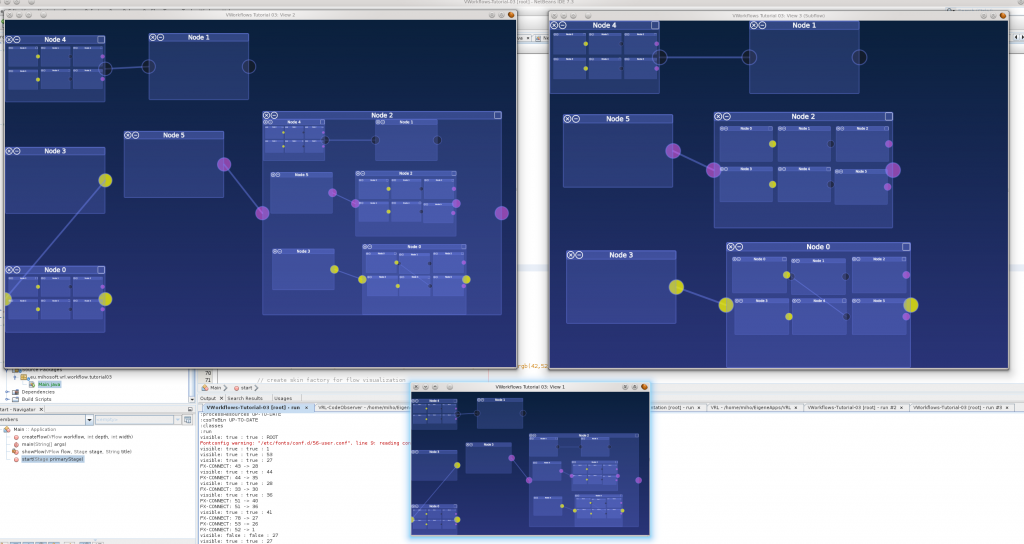
The result looks like this:
This video above demonstrates the views in action
This is not all. In addition to that it is possible to add visualizations to subflows! Just add a new skin factory to a subflow node:
// create another skin factory for flow visualization
FXSkinFactory subFlowSkinFactory = new FXSkinFactory(canvas3.getContentPane());

// choose the first subflow node
VFlow subflow = flow.getSubControllers().iterator().next();

// generate the ui for the flow
flow.setSkinFactories(subFlowSkinFactory);
The program now looks like this:
Demo Application
Download the tutorial code from GitHub.
Requirements:
- Java 7 or a recent Java 8 preview build (>=b84)
- Optional: Netbeans >=7.3 with Gradle Plugin
Building & Running:
To run the application from the command line just type ./gradlew run.
Stay tuned and follow me on Twitter
To be continued…
Update: here is part 4


Leave a Reply